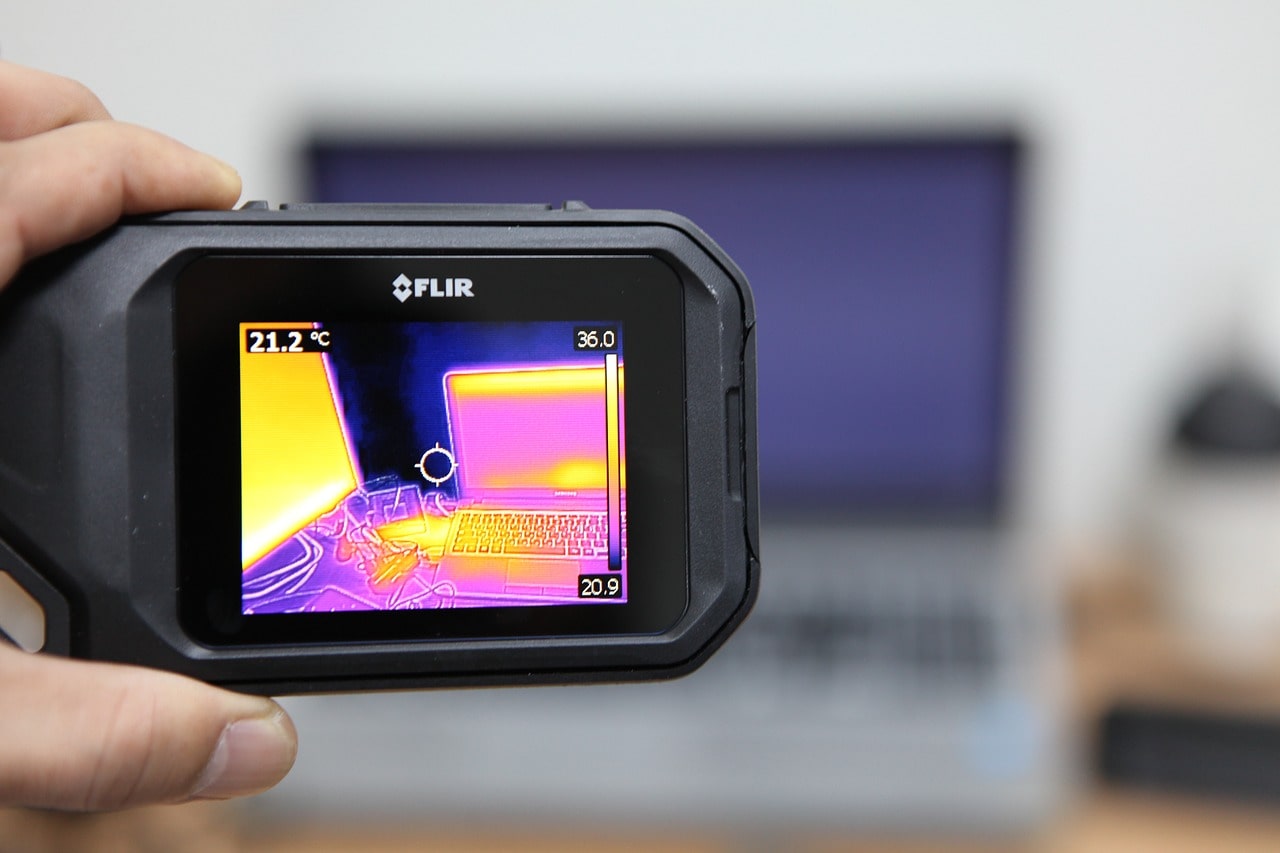
You need to decide whether a cold patch in your home calls for repair, closer investigation or simple monitoring. Infrared imaging can make that decision more informed by showing temperature patterns that ordinary vision misses. Consider a homeowner who notices a ceiling below an upstairs bathroom: the visible mark is small but the condition behind it may not be. A careful inspection can help identify where to look what to verify and which professional should handle the step – without treating one colorful image as a diagnosis.
The cold ceiling patch is a clue, not an answer
The homeowners first mistake would be to assume the stain tells the story. Water may have traveled along framing appearing at the ceiling and a cool area may extend beyond the visible discoloration. A roof leak, plumbing problem, condensation, missing insulation or air leakage can produce overlapping symptoms.
A thermal camera detects differences in surface temperature. It does not see through drywall identify a pipe or confirm that liquid water is present. In the bathroom example a cooler shape near a fixture or ceiling corner may help an inspector trace a pattern but the pattern still needs to be compared with the room layout, recent weather, plumbing use and visible conditions.
That distinction matters. The useful question is not "What does this color mean?" It is "What explanation best fits this pattern and what evidence can test it?"
What infrared imaging adds to a building inspection
A conventional building inspection depends heavily on sight, touch, measurements and access to components. Infrared imaging adds a -contact view of surface temperature differences. Those differences can reveal areas that deserve attention especially when the surrounding materials appear intact.
In a home this may include uneven temperatures around windows, doors, attic access panels, ceiling penetrations, duct routes and exterior walls. A room that feels uncomfortable may have an insulation gap or uncontrolled air movement than a heating-system failure. A warm line along a wall could reflect a pipe, solar exposure or a framing feature. Context determines whether the finding is useful.
The technology is especially helpful for prioritizing follow-up. Of opening several walls at random a qualified inspector can use the image to identify a smaller area for moisture-meter readings, visual examination, attic access or other non-destructive checks.
Moisture detection requires more than a spot
Moisture often changes the thermal behavior of a surface, which is why infrared imaging can support moisture investigations. Evaporation may cool an area while trapped water can alter how a wall or ceiling gains and loses heat.. The same visual pattern can come from an insulation void an air leak, a shaded surface or a difference in construction.
For the bathroom ceiling the sensible follow-up is to compare the suspected area with surfaces and inspect the plumbing, fixtures, attic side and visible finish. A moisture meter may help assess whether the material has elevated moisture. Meter readings also depend on material type, depth, temperature and instrument limitations.
If the area is actively wet, growing, soft, musty or near components do not wait for a better image. Stop using the fixture when appropriate limit contact with damaged materials and seek qualified help. Electrical work and repairs should follow local requirements and official guidance, which can change.
Heat loss and electrical hotspots have stakes
The same inspection can support energy-efficiency decisions. Bright thermal differences around a door threshold, hatch recessed light or duct connection may point to air leakage or insufficient insulation. A homeowner might then choose targeted air-sealing or insulation work than replacing equipment that is operating normally.
Thermal imaging can also show warm electrical components, including a connection, breaker or section of wiring. An electrical hotspot is a warning sign, not proof of a fault. Load, ambient temperature, loose connections, imbalance and normal operating conditions can all affect the image. Do not remove covers or touch suspected components to investigate a camera finding; have an electrical professional evaluate concerns that involve energized equipment. Current codes and safety requirements should be checked before any work begins.
Why thermal camera limitations matter
A camera records surface temperature and the result can be influenced by emissivity, reflections, wind, sunlight, indoor airflow, humidity, distance focus and the temperature difference between indoors and outdoors. Shiny metal is particularly prone to misleading reflections. Glass can reflect surrounding temperatures than reveal what lies behind it.
Timing matters too. A roof or wall warmed by sunlight may look abnormal even when it is not damaged. A repaired leak may leave a temperature pattern after the source has stopped. Conversely a hidden problem may not create surface contrast to appear clearly.
For that reason a report should connect each image to its location, conditions and recommended verification. A competent interpretation distinguishes an observation from a conclusion: " area at the ceiling below the bathroom" is stronger and more honest than "confirmed plumbing leak." Infrared imaging is a tool, not a substitute for opening every concealed assembly or performing specialist testing.
Prepare the property. Act on evidence
The most useful inspection begins with relevant information. Before the appointment note when the symptom appears, what weather preceded it whether heating or cooling has been running and whether plumbing or electrical use changes the pattern. Keep access to the attic mechanical spaces, electrical panels, exterior walls and rooms where concerns have appeared.
A practical preparation checklist:
– Mark stains, cracks, drafts, odors or areas that feel unusually warm or cold.
– Record recent leaks, repairs, appliance changes or insulation work.
– Avoid covering the suspected area before the inspection.
– Ask which findings will require moisture, electrical, plumbing or insulation verification.
– Request next steps and a distinction between observed conditions and confirmed defects.
Return to the ceiling example. If the image shows a cold pattern but follow-up finds no moisture the next question may concern insulation or air movement. If moisture is confirmed the priority becomes locating and stopping the source then assessing drying and material damage. If an electrical hotspot appears the priority is electrical evaluation rather, than energy-efficiency work.
That sequence turns an image into a decision aid. It can reveal patterns early reduce unnecessary disruption and focus attention where evidence is strongest – while leaving diagnosis and repair to the appropriate follow-up professional.